
An Overland Park handyman might be the answer if you are in dire need of repairs to your home. Handymen are available in Overland Park, KS to handle a wide variety of tasks. A handyman can fix anything around your home, from broken locks to furniture repair. These tips will help you select a handyman.
Rates for a Handyman
Asking Handymen in Overland Park about their specialties is a great way to get an idea of the rates they charge. Handymen can complete many types of repairs. A handyman can do almost anything around your home, saving you both time as well as money. However, you should be aware that these professionals are best left to the experts for more complicated jobs.
A handyman's rate depends on a number of factors including the hours needed and the level required of expertise. Because large projects can be difficult or expensive, the cost of the project will also affect it. Some handymen also do emergency services and offer emergency services. Some handymen are licensed, while others may not. You should ensure that the handyman you hire has the appropriate licenses and insurance to complete the project. Consider hiring a general contract for larger projects. They can supervise subcontractors, and they are familiar with permits.
License requirements
Kansas requires a building contractor license to work on residential property. The licensing process will be overseen by the Sedgwick County Metropolitan Area Building and Construction Department. A Class A license must be obtained for all types of building constructions, including multifamily residences. A Class B license is necessary for work on single-family residences. You can operate in Overland Park with a valid license, regardless of whether you want to start your business or do simple repairs.
Johnson County is where Overland Park can be found. In order to work as a contractor in Overland Park, you must obtain a license in the county where you plan to operate. An application packet for contractors is available at the county's website. In addition to a valid license, you must also show proof of worker's compensation insurance. The county will require proof that you have completed a qualifying course, including a bachelor's degree and an ICC-accredited exam.
Insurance
Handyman insurance Kansas covers a range insurance products that protect the company and its assets. These policies are available regardless of the scope or size of the handyman’s work. They cover a variety of liabilities. A general business owner policy is best for small businesses with less employees and less than $5 million in annual revenue. General liability policies include coverage for damage to property and income loss due to stoppages of work.
General liability insurance is an especially important consideration for handymen. Handyman insurance Kansas will protect your business against lawsuits for bodily injuries and property damage. Even though some handymen may not be sued, there are many situations in which such insurance could prove to be useful. A homeowner might not want to pay for repairs if a handyman causes damage to their property. Handyman insurance Kansas also covers your business against damage to property or equipment.

Hourly rate
Hire a handyman in Overland Park for a wide range of tasks around your house. Although handymen aren’t licensed professionals they can often do small jobs for less than a professional contractor. Handymen can do basic repairs to your home, such as fixing broken doors or replacing furniture. They can also clean and repair your home, like fixing broken locks or mending nails.
Before you hire an Overland Park handyman, you must determine how much to charge. You should charge at least $65 an hour. Lower rates can lead to debt and a lower quality life. Most handymen charge well over this amount, so you must be sure to set a fair rate for yourself. An online calculator can be used to calculate an hourly fee. To calculate an hourly rate specific to your job, you can also use the handyman’s hourly rate converter.
FAQ
Is it worth paying more for professional handyman service?
This depends entirely on the type of project you want to be performed. Professional handyman services are best for complicated construction projects like office renovations.
How do you find a trustworthy handyman to help me?
You should always check references before hiring a handyman. Ask your family and friends if they have ever used them. You can also look online for handymen's reviews.
Why should I hire somebody to help me do this job?
Hiring a handyman saves time and money. Not only does this save you the hassle of hiring someone else, but it also saves you the headache of getting everything right the first time. Hire a handyman to help you with your job.
How many hours is it typical to complete a DIY project of this nature?
On average, DIY projects take between 2 and 4 hours. The complexity and difficulty levels of the project determine the length.
Statistics
- Another estimate was that the market in the United States was $126 billion and was increasing by about 4% annually. (en.wikipedia.org)
- According to the U.S. Bureau of Labor Statistics, in May 2020, there are 1,357,630 handymen employed in the U.S.. (angi.com)
- Mila keeps a commission of 20% for each completed service performed by Friends and charges various service fees regarding work done by Pros. (appjobs.com)
- “Once the pandemic hit, that number fell to about 20%.” (inquirer.com)
- “Before the pandemic, 40% of people asked how we could estimate a job when we weren't there,” Rose recalled. (inquirer.com)
External Links
How To
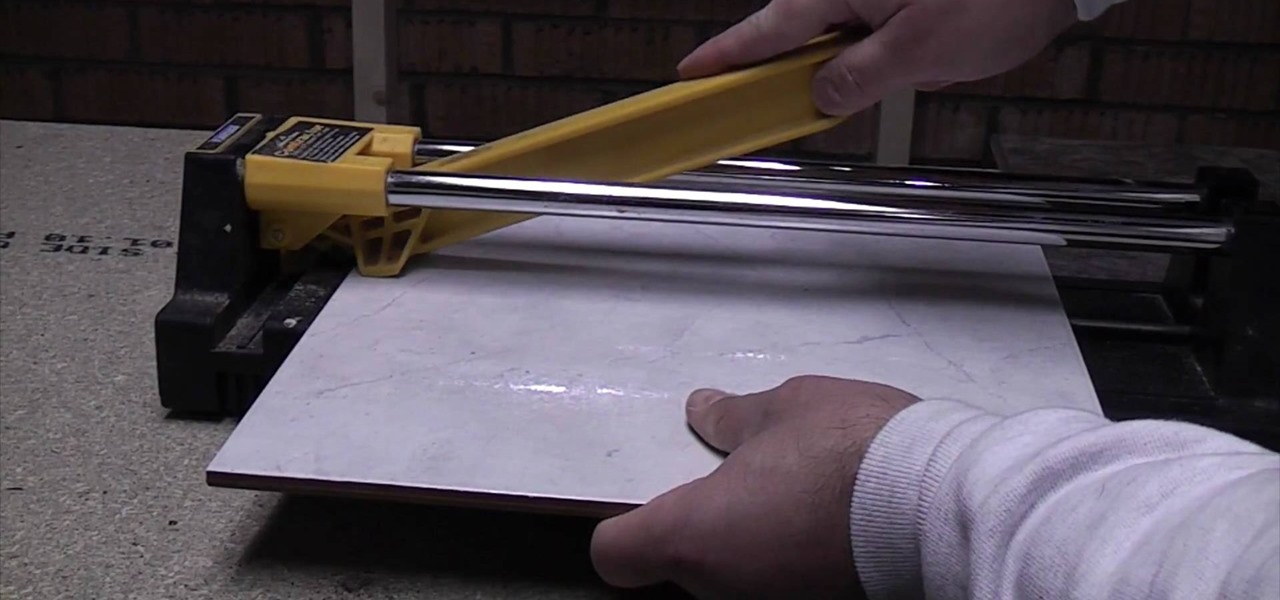
How to replace a damaged tile
Step 1: Remove the old tiles.
Removing the tiles from your flooring is a good idea. You'll want to keep these intact if you use them later. If they're damaged or missing pieces, note which ones they were so you don't run into problems finding replacements.
Step 2 – Choose New Tiles
Check out these options for tile replacement.
-
You should find a similar tile to the one that you've just taken out.
-
To find the right piece, take the measurements you took as you were removing the tiles. This will allow you to quickly find the right size, without having to measure again.
-
Consider looking for colors, patterns, textures and sizes in a variety of shapes and colors.
-
Consider what grout you prefer to use. Some people like a consistent color while others prefer mixing it.
-
Make sure the tile you select is resistant to moisture.
-
Finally, consider the placement of your new tile -- you can save time and money by ensuring the area you're installing it in has enough space for proper installation.
-
Once you've decided on your tile, you can order it online or by calling your local Lowe's to place your purchase.
Step 3 – Install the new tiles.
For your new tiles, use the same method that you used to install them. It is important to align them correctly so they fit together properly.
Step 4 – Clean up
Be sure to vacuum up all crumbs and debris before applying the last layer.
This will prevent dust and dirt from building up between the tiles.
Step 5 – Sand down the floor
After everything has been cleaned, sand it down to remove any remaining particles from the previous steps.
Step 6 -- Finish Off
Once the floor is completely smooth, apply the protective coatings to the tiles. It's important to wait until this point because wet paint can stain the surface of the new tiles.
Remember, you can always use a product called "damp-and-dry" on your floors to help protect against stains.
However, it won't cover every possible problem that may occur after you've installed your new tiles. For example, if you have a lot of kids running around, you may want to consider using an anti-slip coating on top of the protective layer.
And finally, remember to leave the protective sealer on for several weeks before moving back into your home.