
Although hardwood floors can be very expensive to refinish there are several ways to reduce the cost. Consider the duration of the project, the type of hardwoods you can use, and safety concerns. Here are some tips to get you started with your project. Keep reading for more details. Contact a contractor if you have any questions or would like an estimate. Ask them for their advice. Learn more about this important project.
Cost of refinishing hardwood flooring
The cost of refinishing hardwood floors varies depending on the area of the home and the scope of the project. Refinishing a large area of hardwood floors can cost significantly more than refinishing a smaller area. The refinishing process also requires the use of drum sanders, sanding belts, vacuums, plastic sheeting, and stain. Based on the area being refinished, a lower or higher amount of stain/topcoat may be applied. The materials cost is typically included in initial quotes.
Refinishing hardwood floors can make your home look better and help you save money. This involves sanding, applying new colors and sealing the floor with a top coat finish. Refinishing hardwood floors is much less expensive than installing new hardwood floors. Refinishing hardwood floors is a process that involves sanding the surface of the floor to remove imperfections, and then reapplying the top coat finish. The end result is practically new flooring.
The duration of the project
A refinishing hardwood floors project involves various types of finishes and colors for your floors. Hardwood floors are most commonly finished with oil- or water-based polyurethanes. Refinishing your floors requires careful attention to detail and skill. Two to three coats can be applied to finish the floor. It is up to you to decide whether to use a stain or a water-based product.
The wood type and stain used can affect the time it takes to finish a hardwood floor. You should also consider whether your wood has been treated with moisture or not. Sanding may be more difficult when there is moisture damage. This takes more time. To flatten wood, sanding must not be done following the grain but at 45 degrees. For the project to be successful, you will need a large crew.
Prefinished vs. unfinished hardwoods
Prefinished and unfinished hardwood floors are vastly different. The most important difference is the finish. Prefinished hardwood flooring can last for longer and look better. Prefinished hardwood comes with more layers of protective coatings than unfinished. Prefinished floors often come with ScotchGuard and scratch resist guards. Prefinished hardwood comes with a wide variety of textures and colors, as well as a wide range in durability levels.
Prefinished hardwood is more expensive than unfinished wood, but it can easily match your existing flooring. Unfinished hardwood has more customization options. You can stain and finish it to any color, and even add borders and inlays. If you don't have unfinished wood, staining it with urethane will give it a uniform appearance. You will need to purchase tools such as brushes and rollers to apply the finish.

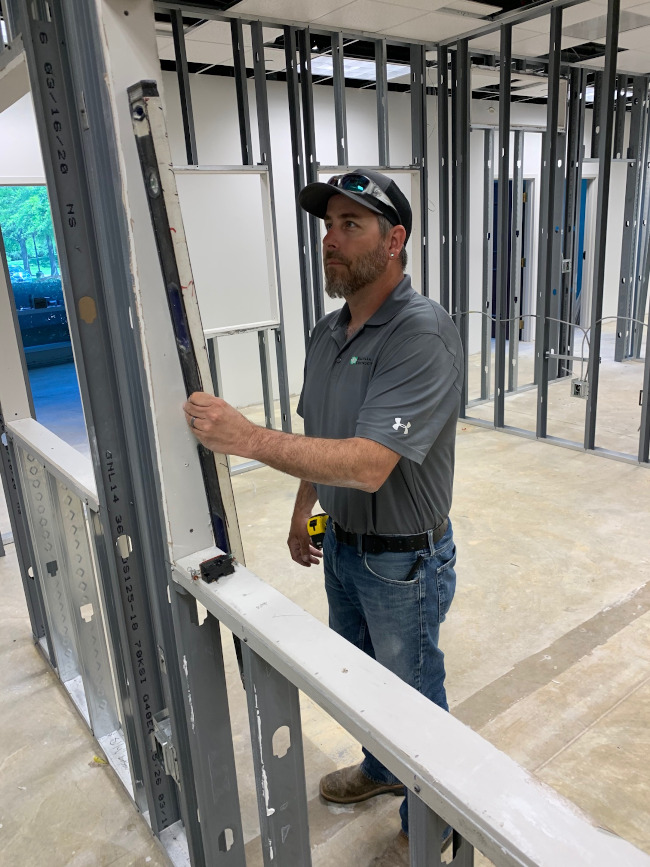
Refinishing hardwood floors presents safety concerns
Refinishing hardwood floors can be a tedious and messy process. It is also quite dangerous. The first step is to remove old flooring. Old vinyl flooring may contain asbestos, and you should hire a professional to remove it safely. Many hardwood floors have carpet tacks and projecting nails. Proper gloves and thick-soled shoes are essential if you want to refinish your hardwood floors yourself.
VOCs (volatile organic compounds) are also possible in refinishing hardwood floors. VOCs are chemicals can cause problems for health if they are inhaled, or come into contact with skin. Use a varnish specifically made for this application. Refinishing your home with a varnish designed for this purpose can help you stay safe. Toxic compounds are highly flammable and explosive, which makes them dangerous for refinishing floors.
FAQ
What are the most common handyman repairs?
Repairs by handymen include roofs repairs, windows, doors or gutters. Handymen can assist homeowners who need help building or renovating their homes.
Are there any tips from a handyman about how to improve my home and make it more beautiful?
Absolutely! In fact, a handyman is trained in all areas of home repair and maintenance. He or she knows what needs to be fixed and what doesn't. So don't hesitate to ask for advice whenever you need it.
Do handyman services cost less than general contractors?
Yes! Yes. Sometimes, a handyman may be cheaper than hiring a general contractors to do a job. This is especially true for those who have never had a contractor do a job. Handymen can also speed up the completion time of projects because they are skilled at completing specific tasks faster and more efficiently.
What qualifications are needed to be a handyman
The most important qualification you'll need as a handyman is a patience. You should also have experience working on electrical systems, carpentry skills, plumbing knowledge, and a strong understanding of home maintenance.
It is likely that you will find many jobs for people who have the right qualifications. But if you don’t, you may not be qualified.
A school that specializes is a good place to start your training.
Statistics
- An estimate was that in 2003, the market for home maintenance and repair spending was up 14% 2001 to 2003. (en.wikipedia.org)
- According to the U.S. Bureau of Labor Statistics, in May 2020, there are 1,357,630 handymen employed in the U.S.. (angi.com)
- A franchise was approximately $110,000 with a franchise fee of $14,900, according to a spokesperson for a national handyman franchise. (en.wikipedia.org)
- Mila keeps a commission of 20% for each completed service performed by Friends and charges various service fees regarding work done by Pros. (appjobs.com)
- Our handyman services for seniors are provided by professional senior helpers who have been serving the community for over 20 years with 98% customer satisfaction. (cantatahomeservices.org)
External Links
How To
How to replace a broken tile
Step 1 – Remove the tiles.
Take out the tiles and place them on a new flooring surface. If you plan to use these tiles later, it is important that you keep them in good condition. You can note the parts that are missing or damaged so that you can find replacements.
Step 2 -- Choose New Tiles
Look at these different options for replacing tiles.
-
Find a tile that is identical to the one you are removing.
-
You can use the measurements taken when you removed the tile to locate a matching piece. This will allow you to quickly find the right size, without having to measure again.
-
Consider looking for colors, patterns, textures and sizes in a variety of shapes and colors.
-
If you have a preference for grout, consider what it would be best to use. Some people like a consistent color while others prefer mixing it.
-
Choose a tile that resists moisture.
-
Finally, consider the placement of your new tile -- you can save time and money by ensuring the area you're installing it in has enough space for proper installation.
-
Once you've decided on your tile, you can order it online or by calling your local Lowe's to place your purchase.
Step 3 – Install the new tiles.
For your new tiles, use the same method that you used to install them. Make sure they are aligned correctly so that they fit together perfectly.
Step 4 -- Clean Up
Before putting down the final layer of protective material, clean up all the debris from the floor.
This will prevent dirt or dust from collecting between the tiles and causing mold.
Step 5: Sand down the Floor
After cleaning, sand the floors to remove any particles.
Step 6 - Finish Off
After the floor has been smoothed, you can apply protective coatings to the tiles. You should wait until this stage as wet paint can stain new tiles.
Remember, you can always use a product called "damp-and-dry" on your floors to help protect against stains.
However, it will not cover all possible problems that may arise after you have installed your tiles. You might want to add an anti-slip coating to the protective layer if there are a lot of children.
And finally, remember to leave the protective sealer on for several weeks before moving back into your home.